Tutorial: Setup a data connector
Below we will analyze all the above cases.
Data synchronization between DBs
1) (Postgres/MySql with Timestamp)
Suppose we have two databases Postgres and MySql, the first one is the source, the second one is the destination.
The first thing to do is to log in so as explained in the section Web UI.
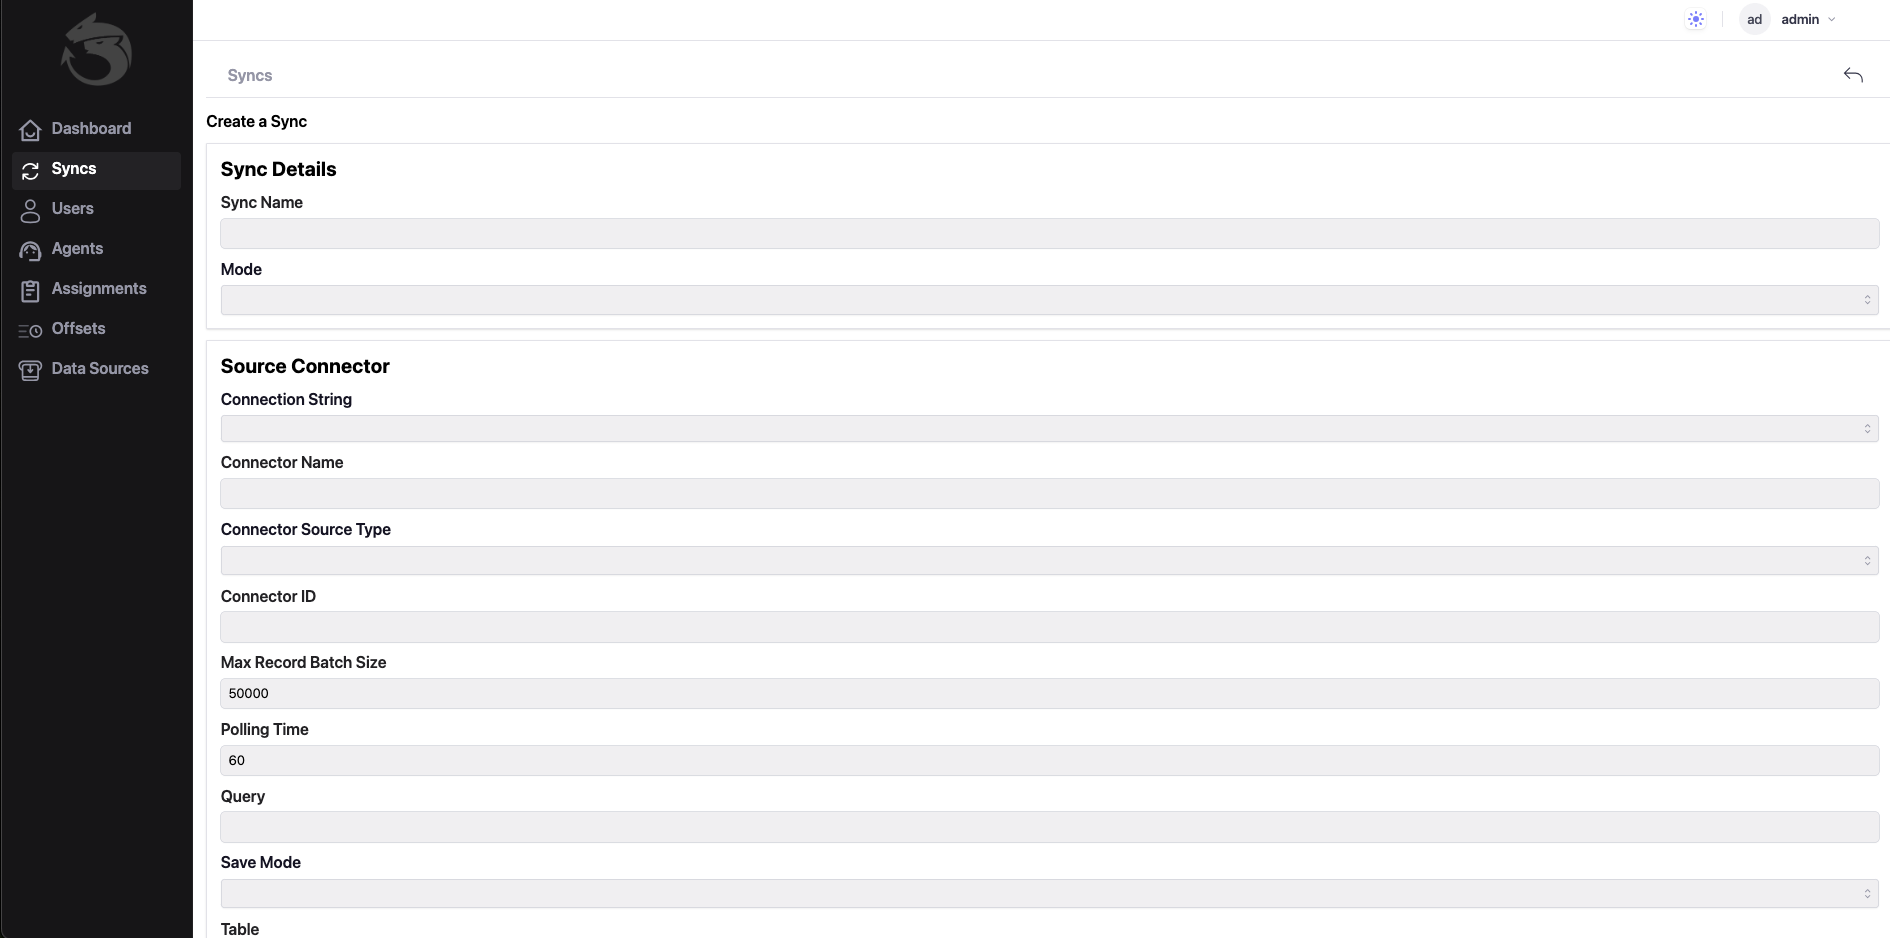
Once logged in, you need to click on the ‘Syncs’ menu item and then on the ‘Create Sync’ button, where we setup 3 sections:
Sync Details, Source Connector and Destination Connector.
In the first section, you need to assign a suitable Sync Name to the synchronization, and also choose a synchronization Mode.
With regard to the last 2 sections, where the data connector is configured, the first one is about configuring the Source Connector, the second one further down is about the Destination Connector.
As you can see in the 2 images below, mode Timestamp has been selected.
In addition, the connection strings for Postgres and MySQL have been properly configured respectively, following the rules indicated here:
GORM.
Moreover, it’s important to create the Timestamp Field in both tables of the 2 databases with the exact same name!
Finally, once all these things have been done, you can click on the ‘Create’ button (see the second image below).
Connection Strings is: host=localhost user=postgres password=mimmo dbname=postgres port=5432 sslmode=disable TimeZone=Europe/Rome

Connection Strings is: root:@tcp(127.0.0.1:3306)/scuola?charset=utf8mb4&parseTime=True&loc=Local
2) (Postgres/MySql with ConnectorId)
Feedback
Was this page helpful?
Glad to hear it! Please tell us how we can improve.
Sorry to hear that. Please tell us how we can improve.